What is a CRM?
Customer Relationship Management (CRM) software is an all-in-one platform designed to manage interactions with customers, streamline processes, and improve profitability. Saral Vyapar is tailored specifically for the solar industry, providing specialized tools for both B2B and B2C sales, as well as inventory management.
Interactive Demo & Audio Narration
View Narration Transcript
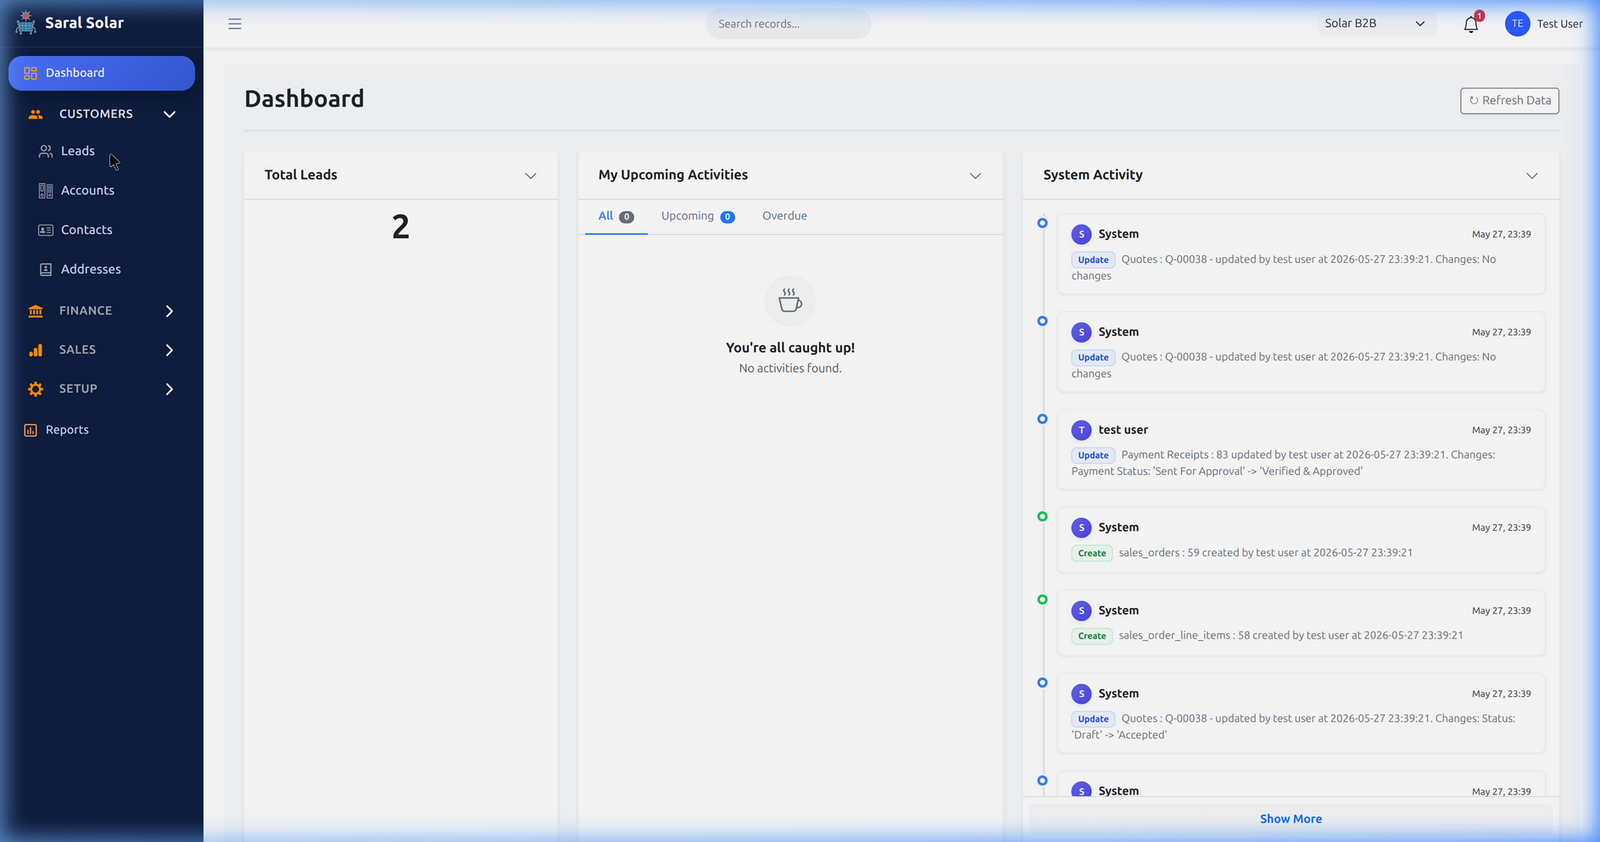
Welcome to the Saral Vyapar CRM masterclass. First, you can easily log into the system using your company ID, user name, and password. In this video, we'll cover the general software overview. A CRM helps you manage customer relations efficiently. At the top right corner, you can use the App Switcher to move between Solar B2B, Solar B2C, and Inventory apps. Use the left sidebar to navigate between modules. In any list view, you can use the search bar to find records quickly, apply filters to narrow down your data, and click column headers to sort your lists.
The Dashboard
When you first log into Saral Vyapar, you are greeted by the Dashboard. It provides a bird's-eye view of your business metrics, recent activities, and key performance indicators, allowing you to track progress at a glance.
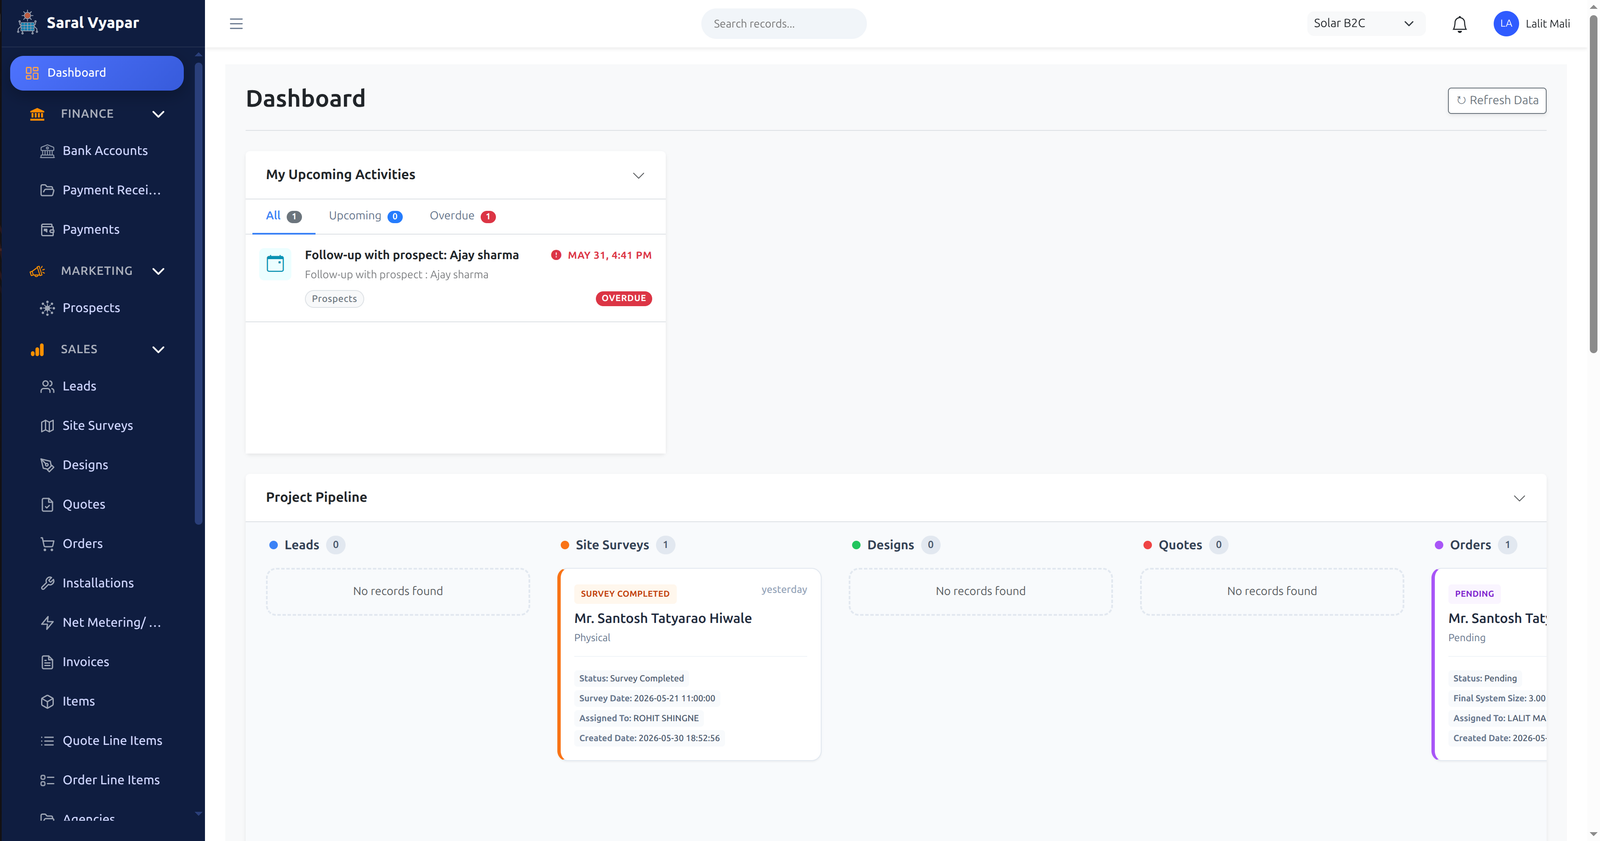
The Interface: What is Where?
1. App Switcher (Top Right Corner)
The Saral Vyapar system is divided into three major applications: Solar B2B, Solar B2C, and Inventory. You can switch between them seamlessly using the dropdown menu located at the top right of the navigation bar.
2. Navigation Sidebar (Left)
The dark sidebar on the left gives you access to all the modules within your currently selected application. Clicking on a section expands it to reveal specific modules like Leads, Contacts, and Quotes.
3. Global & List Search (Top Center)
Quickly locate records using the search functionality. The search bar allows you to type keywords to instantly filter the list view you are currently looking at.
4. Filters
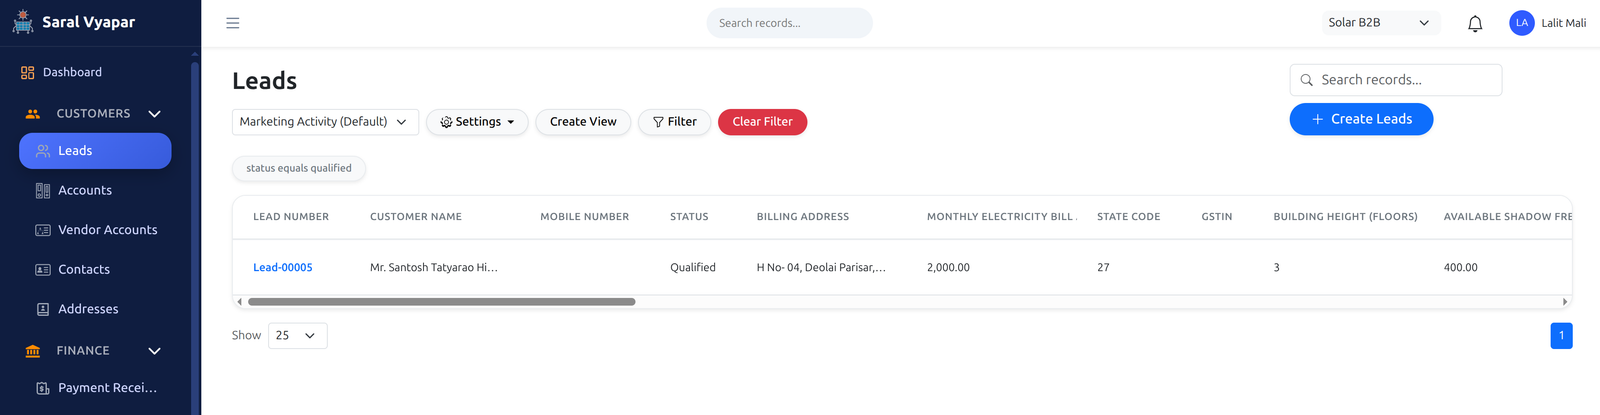
When viewing a list of records (like Leads), you can apply complex filters using the filter menu on the right. You can filter by status, owner, or creation date to narrow down your data quickly.
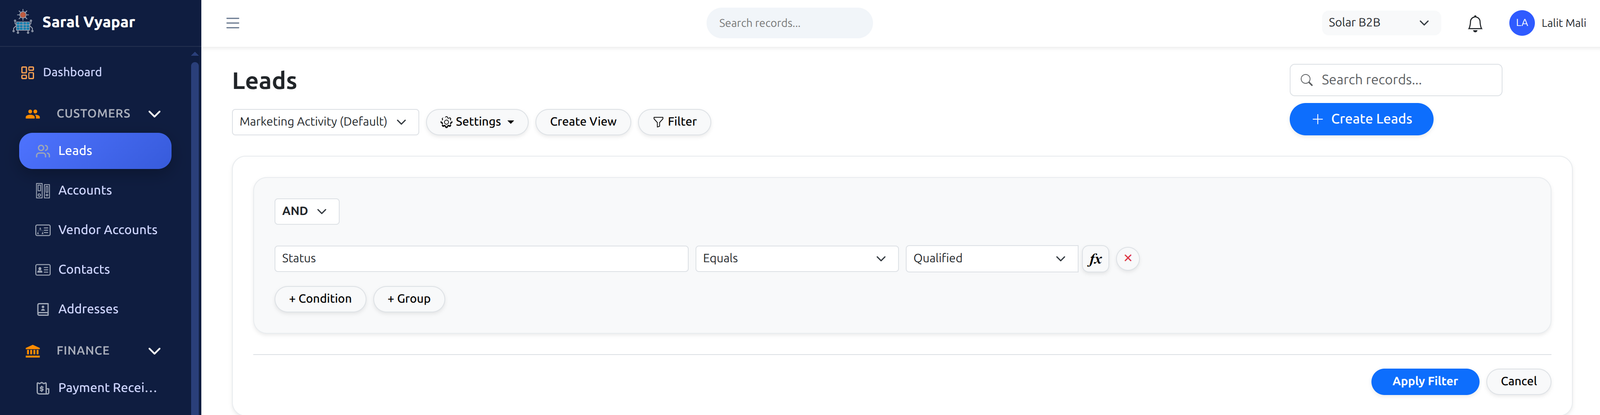
If you want to clear the applied filters and return to the default list, simply click the clear filter option.
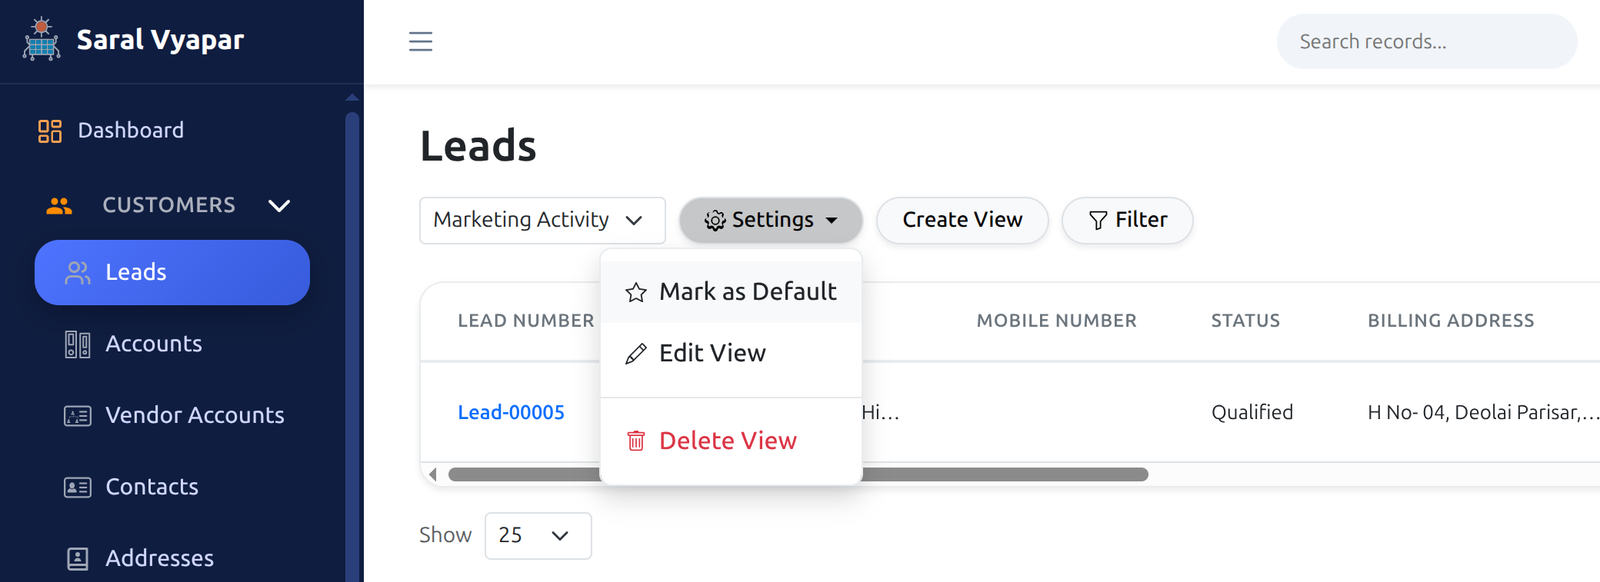
5. Views
Views allow you to save a specific set of filters so you don't have to re-apply them every day. For example, you can create a View for "My Active Leads" or "High Priority Tickets".
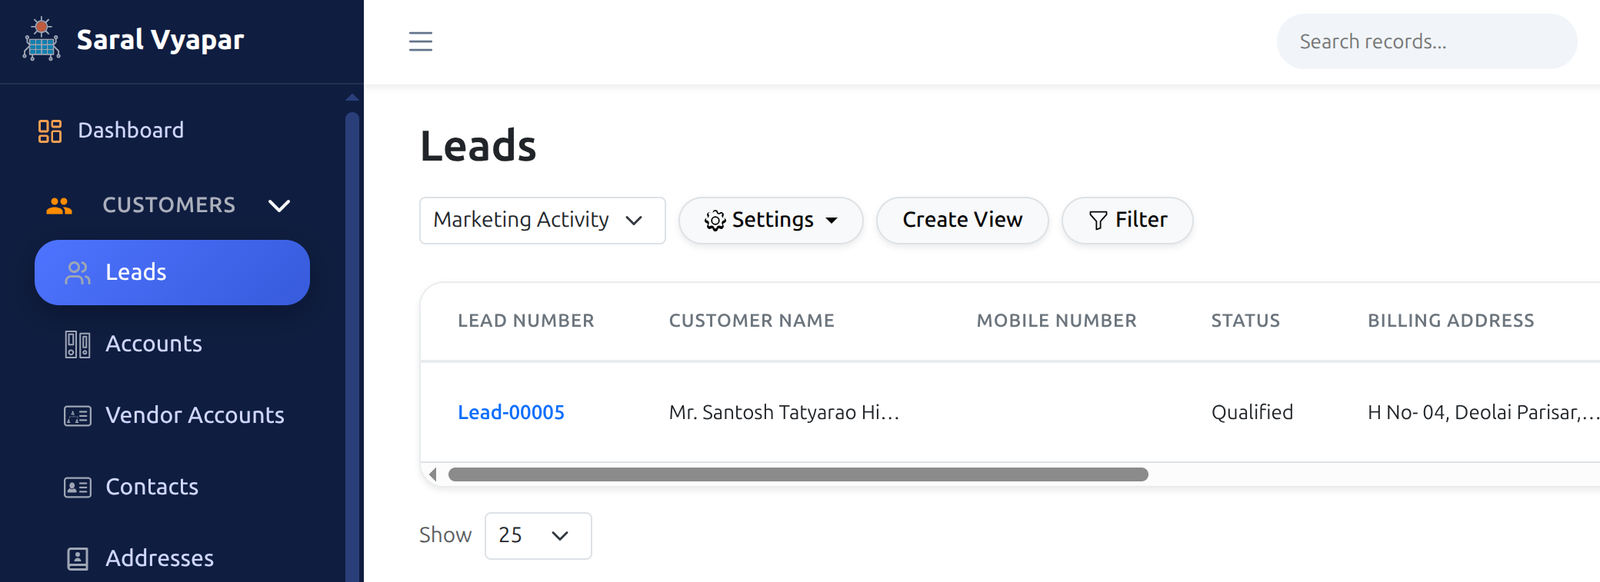
Select your desired view from the dropdown menu.
How to Create a New View
To create a new View, first apply the desired filters, then click on the "Create View" button.
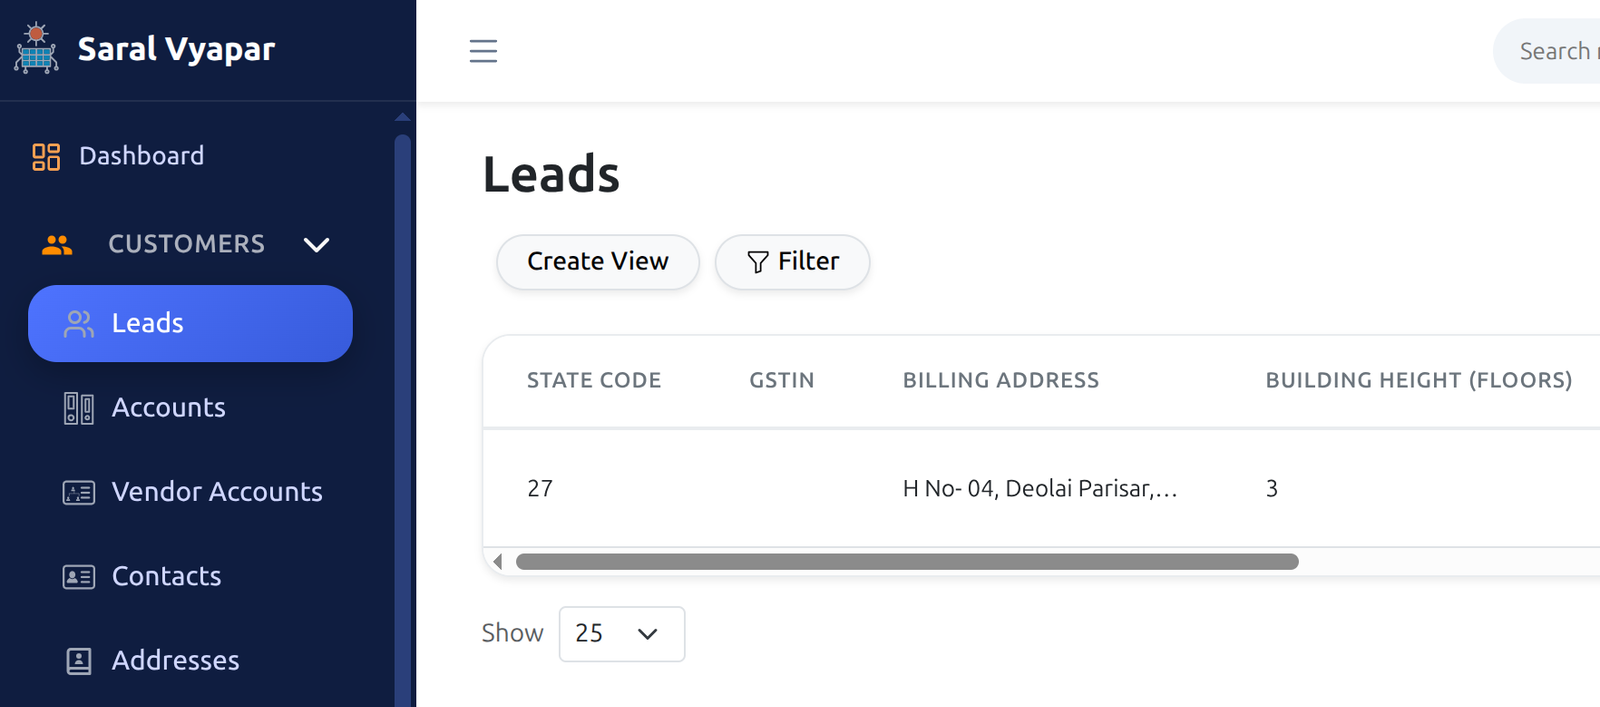
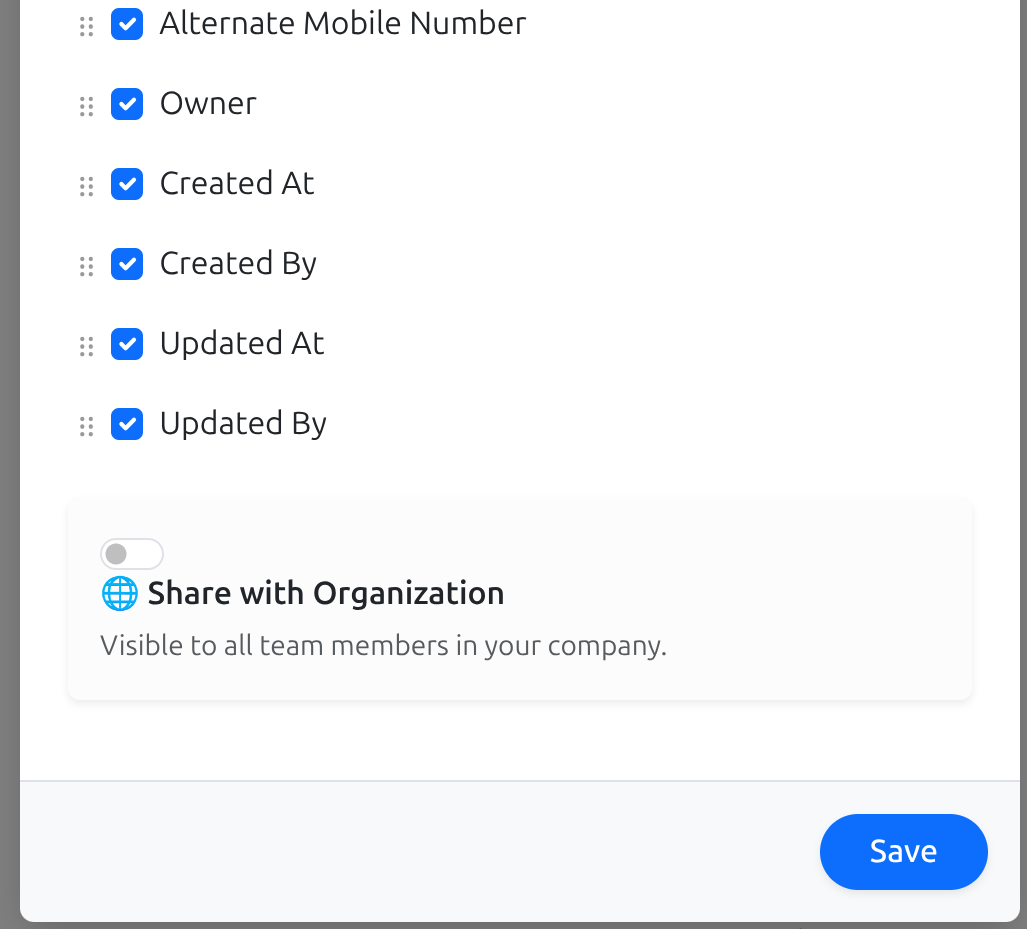
A window will pop up where you can name your View and configure its settings. You can also specify the columns you want to see, and easily drag and rearrange them as per your needs to customize your view.
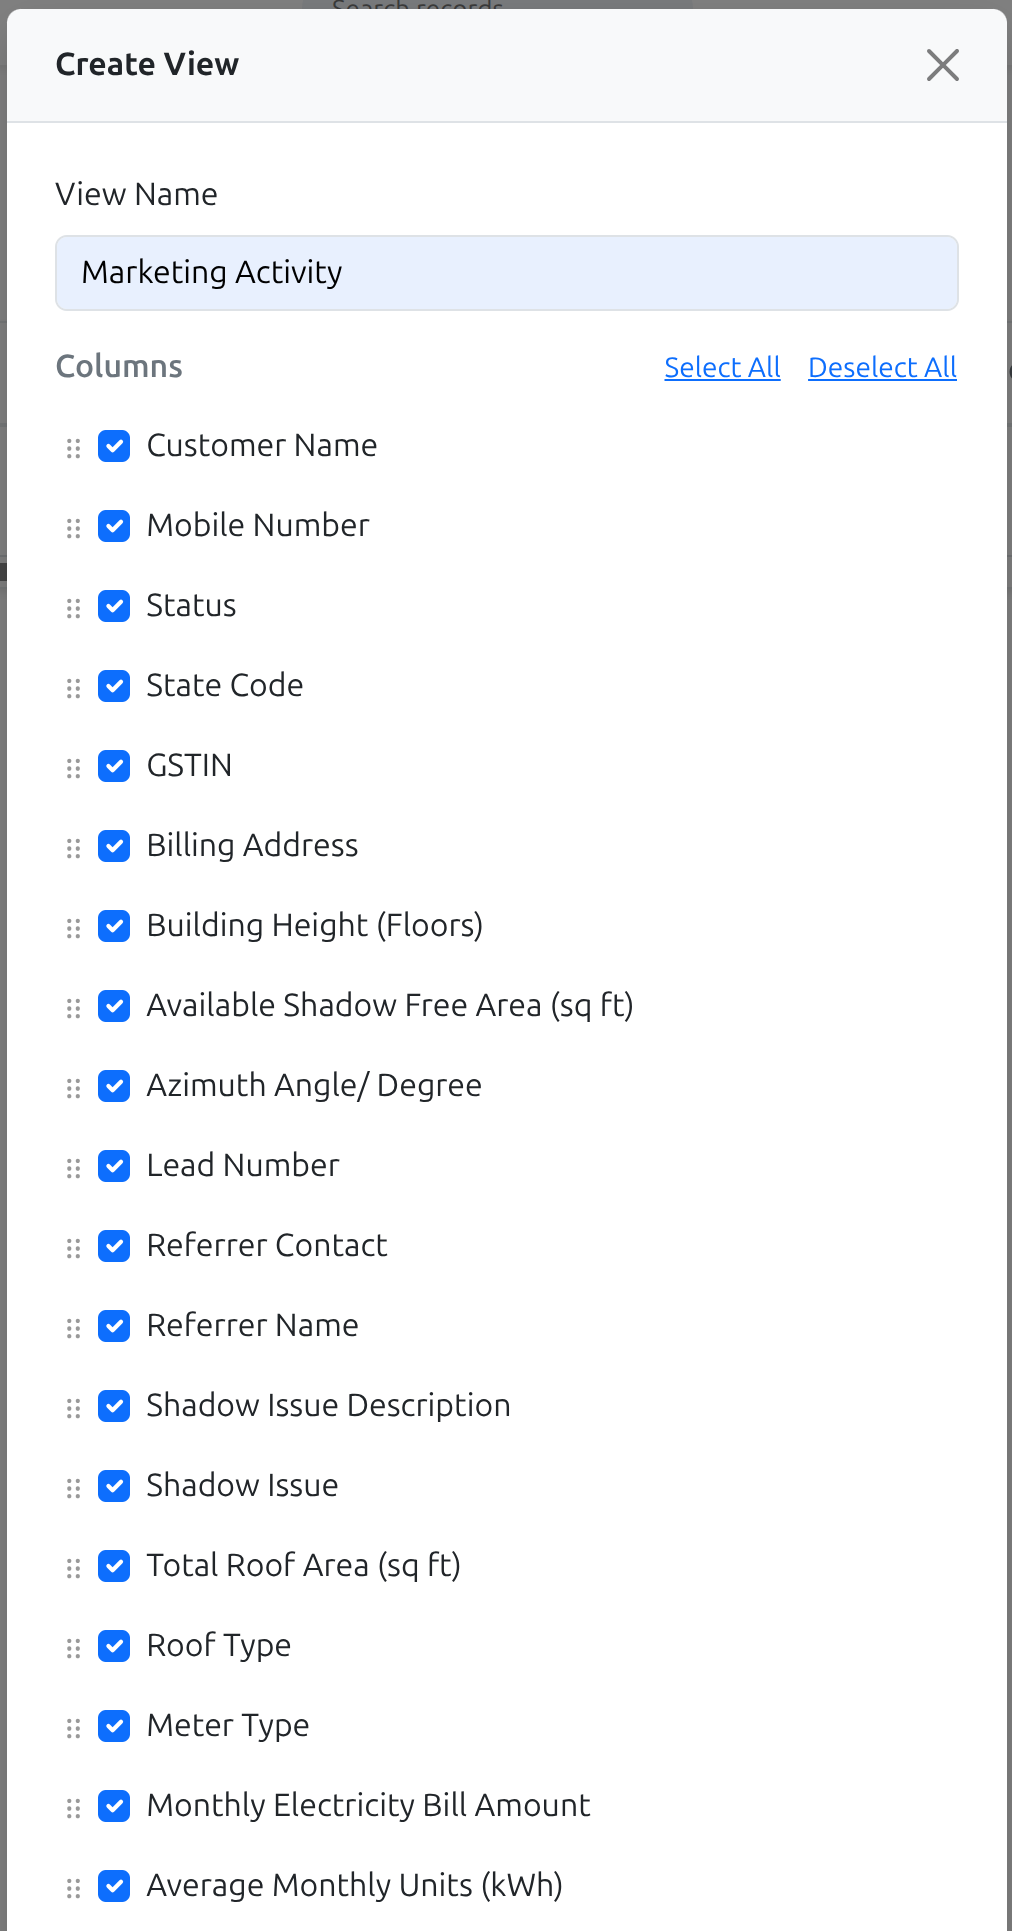
Finally, save your View. It will now be available in your views dropdown for quick access.
Editing an Existing View
If you need to change the filters or columns of an existing view, select it and click the edit icon.